Earlier this month (April 2025), I started my journey into learning 3D illustrations from a 4-day course by scientific illustrator Rafeeque Mavoor and his venture Scidart Academy. This 4-day course teaches you the basics of 3D illustrations using the open-source tool Blender, which has recently been making headlines due to the Oscar-winning animation film Flow created using this platform.
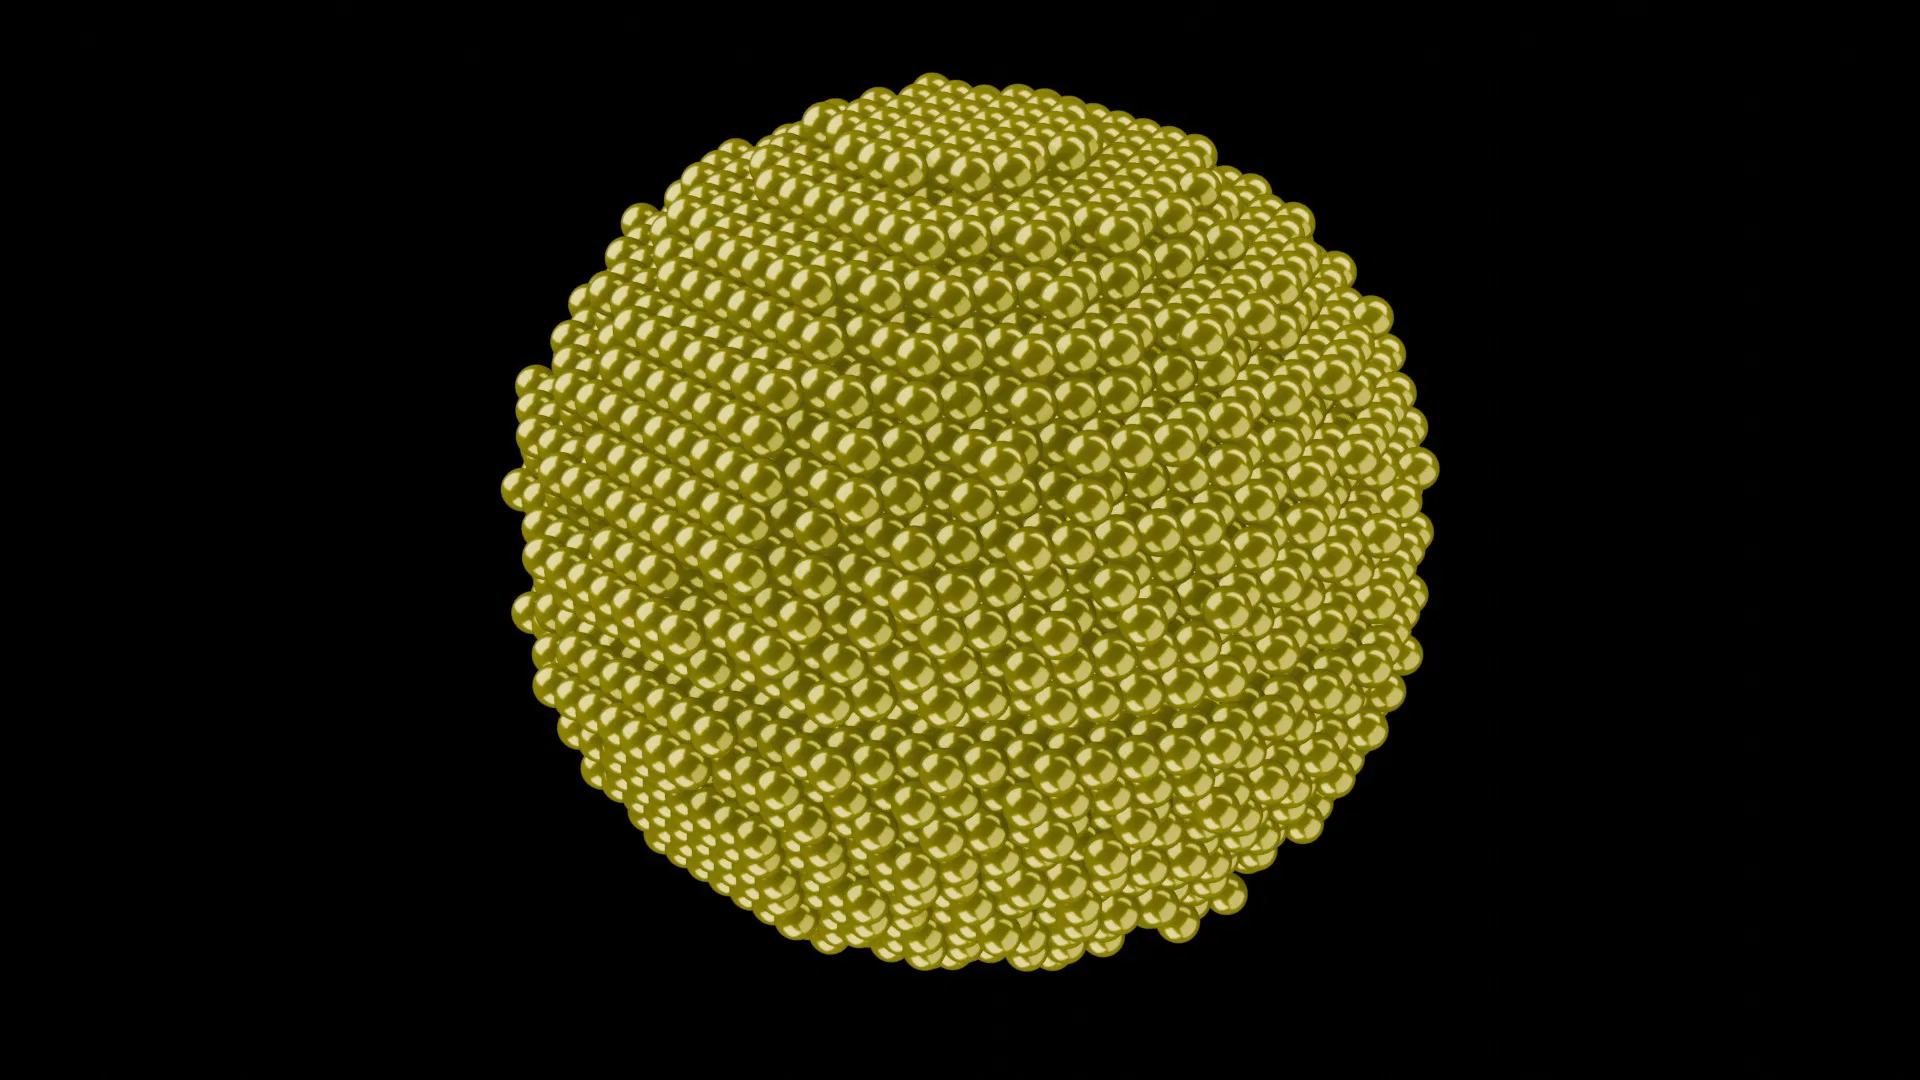
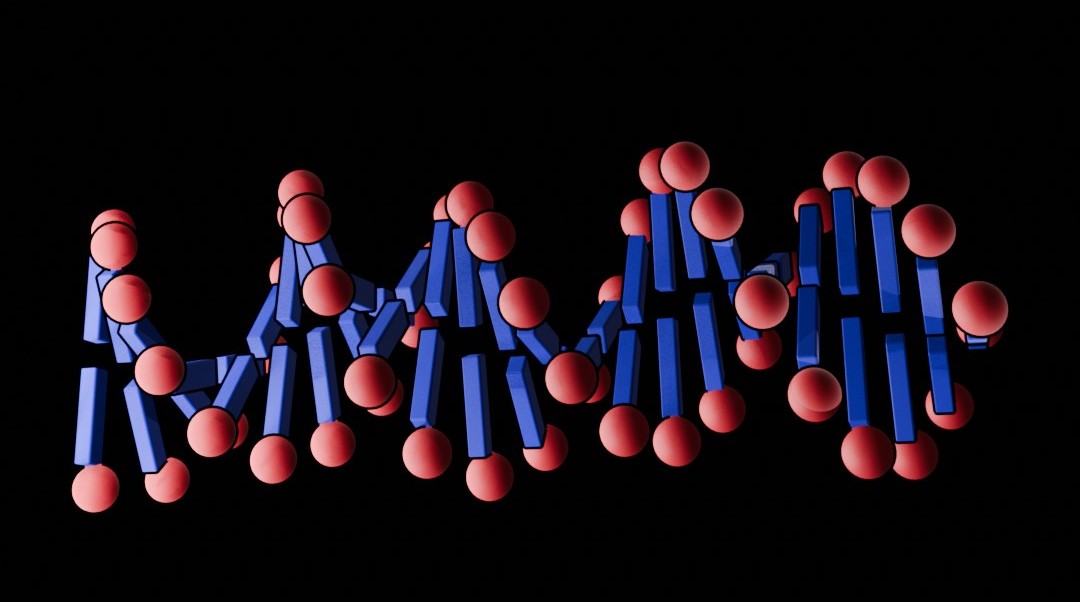
You not only learn the basics and advanced tools here but also get lifetime access to tutorials on fundamental tools, 6 separate videos on how to draw 3D illustrations of basic biological structures like nanoparticle, molecule, DNA, the Human Brain and White Blood Cell (WBC) and advanced structures like the SARS-CoV-2 virus and Sensor. Every participant needs to draw at least two 3D illustrations – one from the basic structures and one from the advanced module – to get the certification. And for this, you get 1 week’s time after the 4 live demonstration sessions are done. And all these come at a price of 2000 INR or 40 USD.
Drawing 3D Illustrations
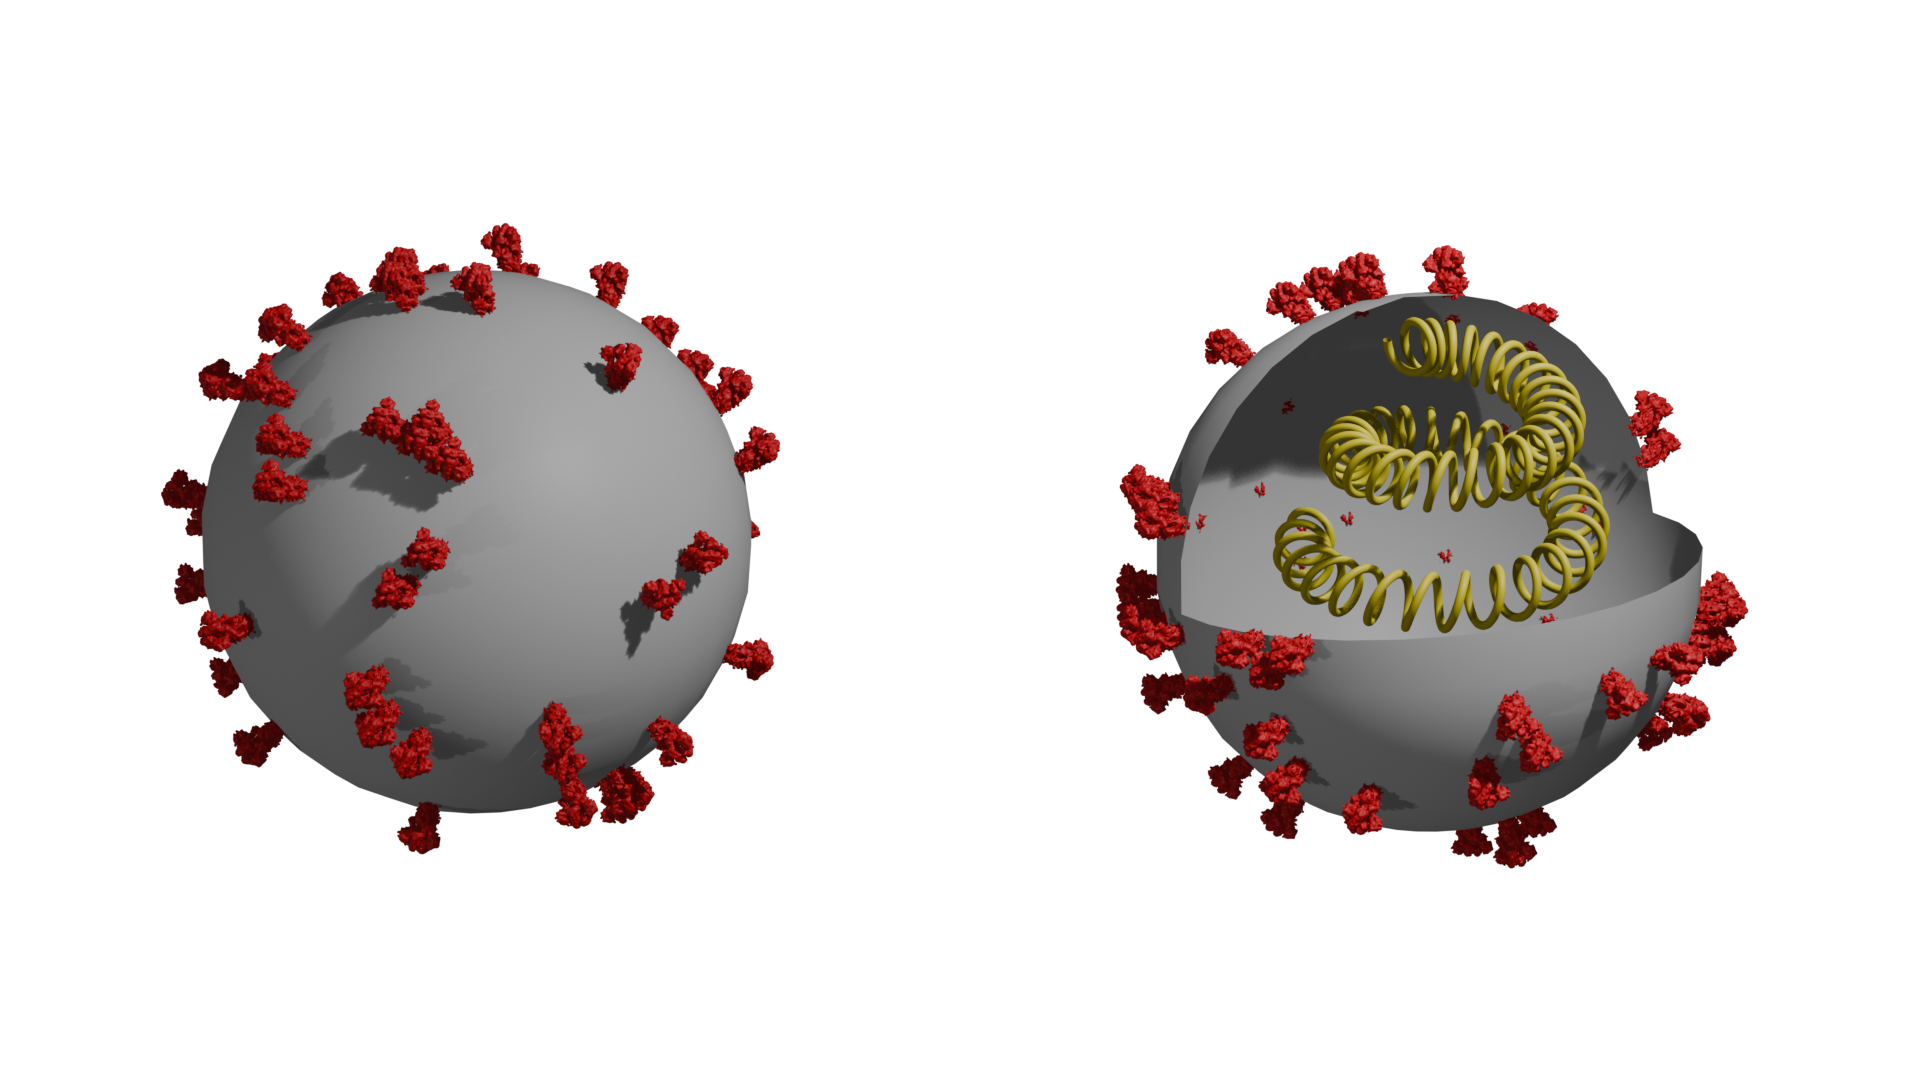
Now, that’s about the course, and here are some of the 3D illustrations from the course. I will update it with more illustrations as I go on to make them. Throughout the process, Rafeeque is there on WhatsApp to support you at many points when you get stuck in the Blender software, like I faced with the camera and lighting, and then the nodes window. Usually, the software starts with a cube at the centre, a camera on one side, and a light source on the other side of the cube. You can choose any desired shape to begin your 3D illustration by clicking on the Add button or ‘Shift+A’ shortcut, which will open up sphere, curve, cube, etc., options. Further in the course, you will learn the various features of the Blender software, which result in the structures given below.
Tackling Issues With Blender
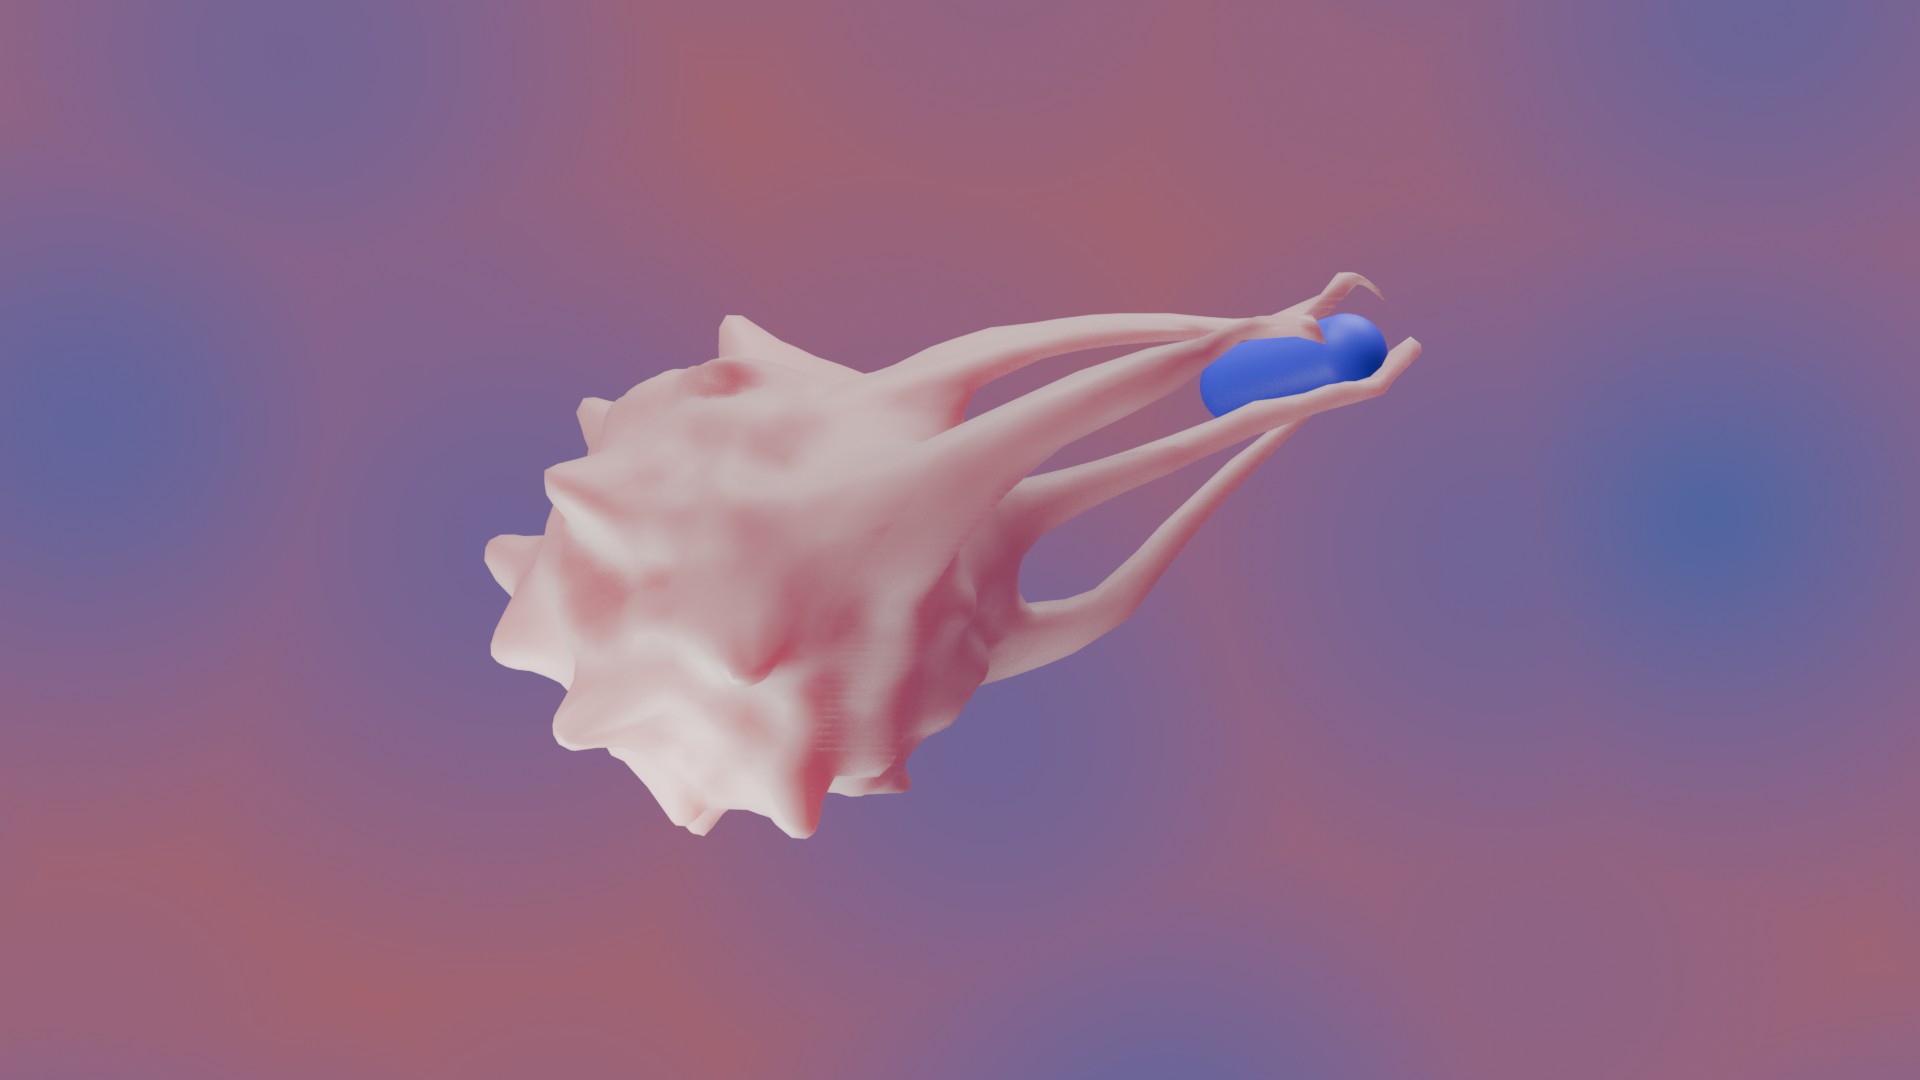
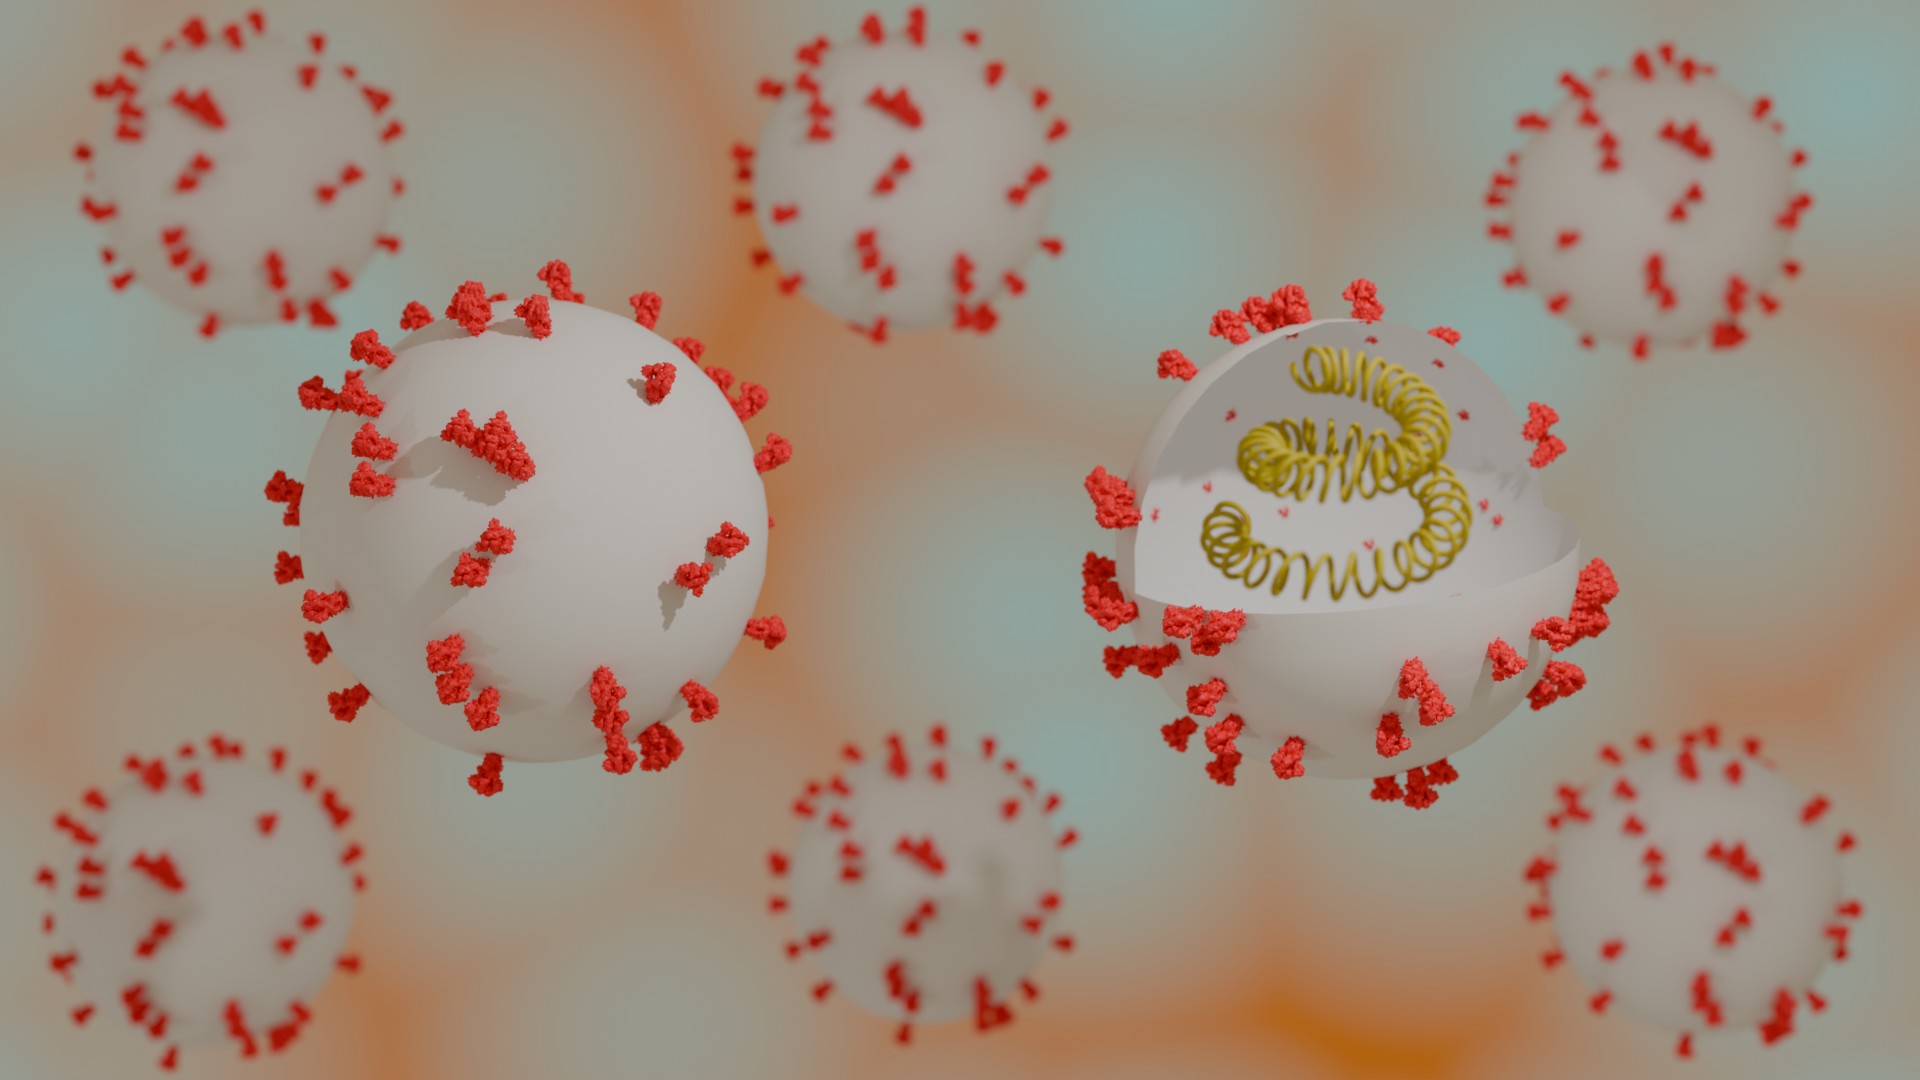
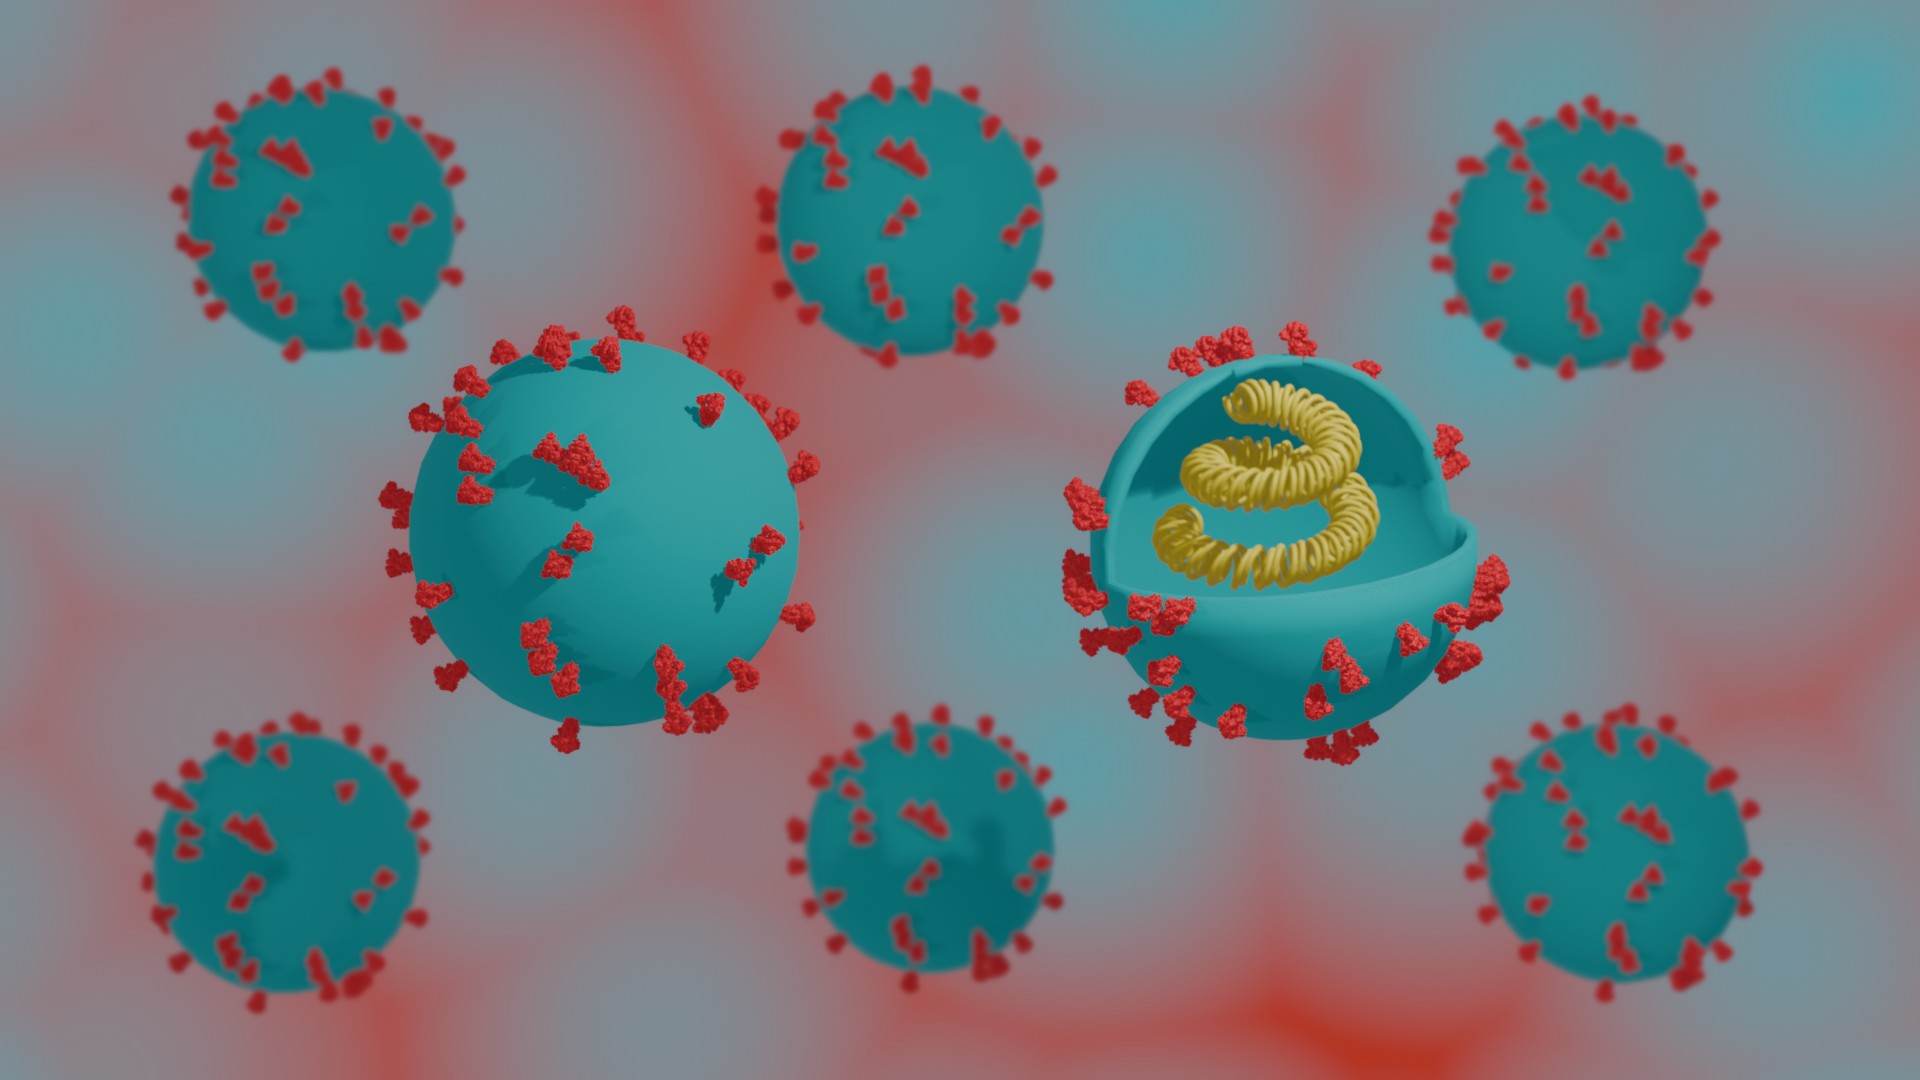
In the above image of the virus, the inner wall has some spots of spike protein. To remove this, I have selected that sphere and applied the ‘solidify’ modifier. However, that only reduced it in size and not removed it completely. Then I had to increase the thickness of the solidify modifier. This increases the thickness of the membrane of the virus sphere, and hence the marks vanish as seen in the image given below. Many such bottlenecks will arise when you start using Blender, including problems with features not working and memory and graphics card issues. Ideally, you need an Intel(R) Core(TM) i5 or i7 with 8GB RAM. Mine was Intel(R) Core(TM) i5, and I had 8GB RAM, so there were some problems with many of the features. Like the colours of the virus were supposed to be in blue, but when I applied it in the materials properties section, the virus didn’t turn blue. So, I had to adjust the project to a white-coloured virus.
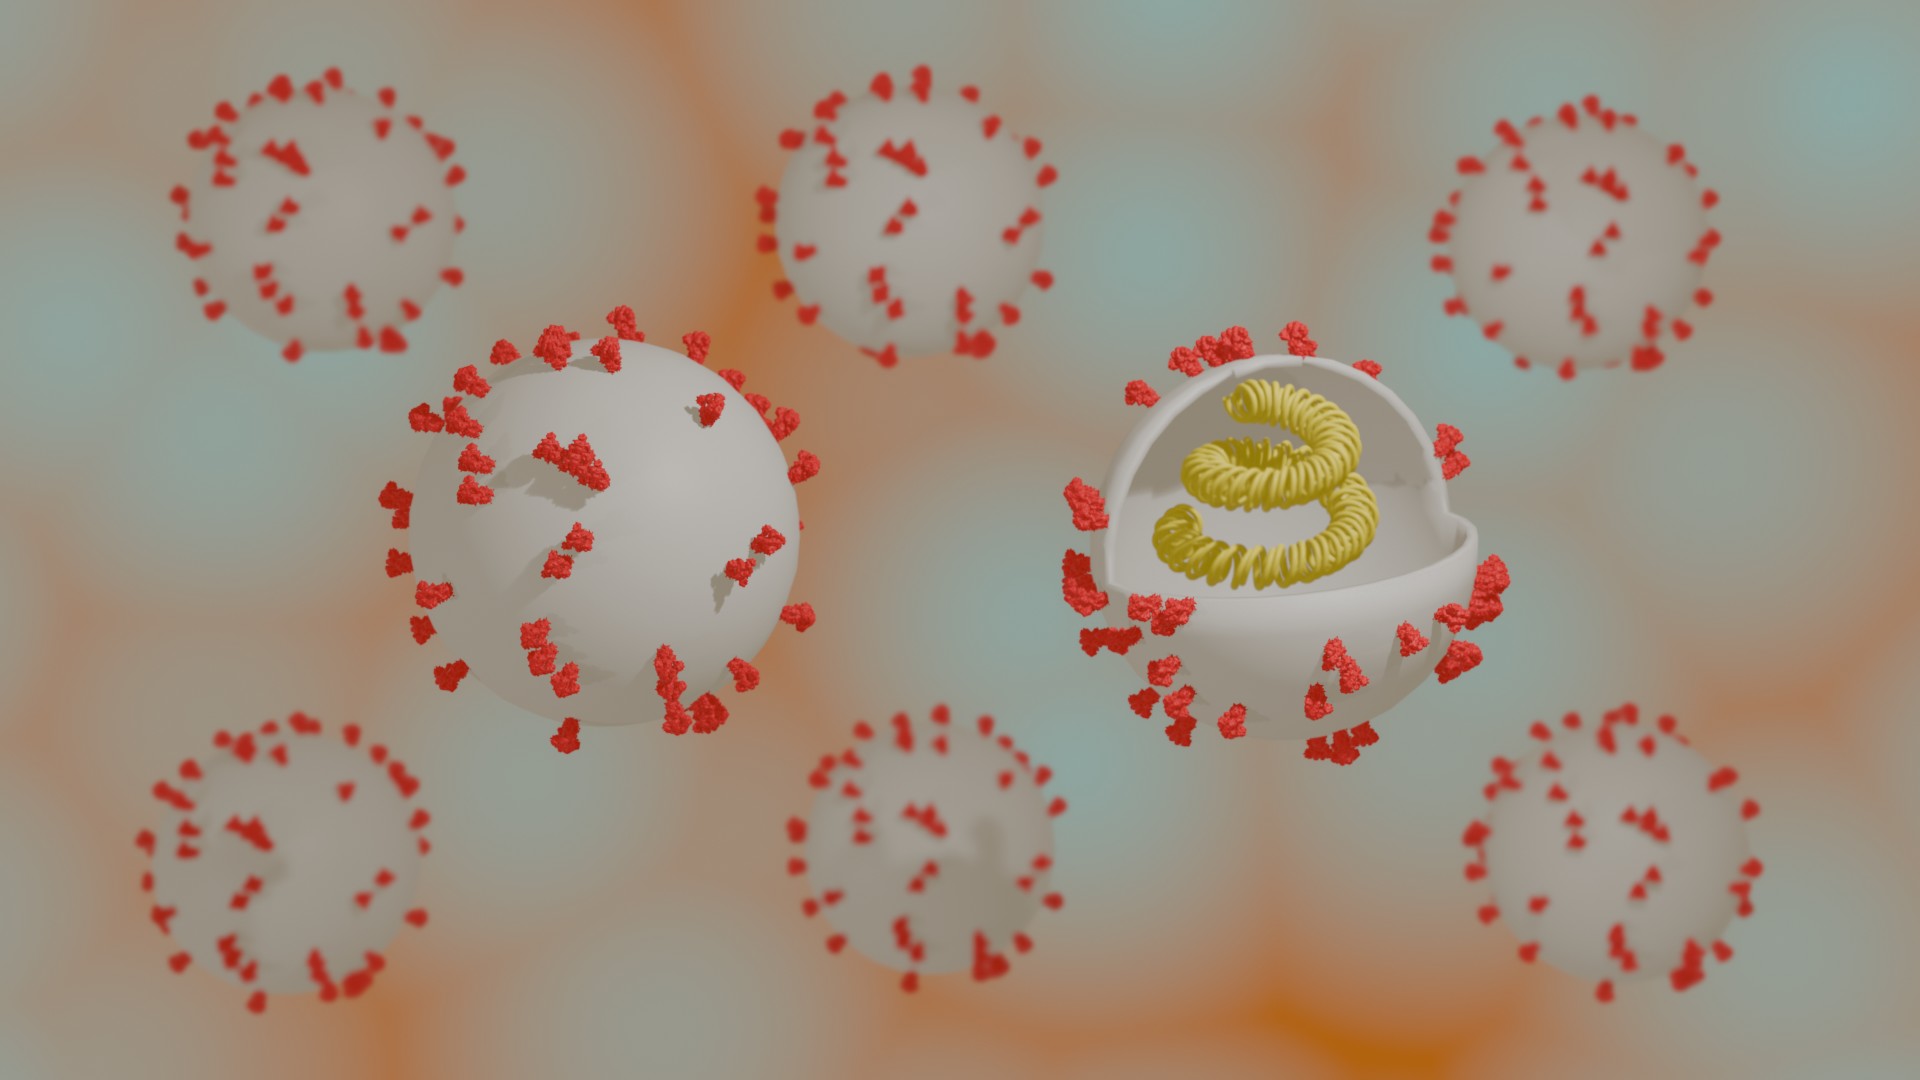
Now, if you are someone who, like me, has struggled to apply colour to the objects in these complex diagrams, where copies of viruses need to be made. Make sure the colour nodes are connected in object mode. If it is intact and the colour still says white despite you changing it to your preferred choice. Then, check in the material properties of the sphere if there is any blank material, delete that by selecting it and clicking on the minus sign.
Note: The cover image is AI-generated by WordPress from the 3D illustrations in the article, but seasoned illustrators who have been doing it for years can do it using Blender.

Leave a comment